Streamlined scripts are scripts that use the streamlined event-driven script template. These scripts allow the user to set up event-driven scripts with fewer number of steps and without going back and forth between different tools.
This will show a second set of numbers and letters
Copy that entire string of numbers and letters
Including the dashes, just copy the whole thing
Note: Do not ever show/share this API token to anybody, see warning below:
On the tab with your new script, on line number 5, select PasteYourApiTokenHere
Don’t select the quotation marks. This will make sure they are not overwritten when you paste.
Paste the API token that you copied from the previous steps
Note that the quotation marks should still be there
If the section called "Required Customizations" exist on the script's description on the scripts page, check through the items listed on this section and modify the indicated values
[Optional] If the section called "Optional Customizations" exist on the script's description, check through the items listed on this section and modify the indicated values
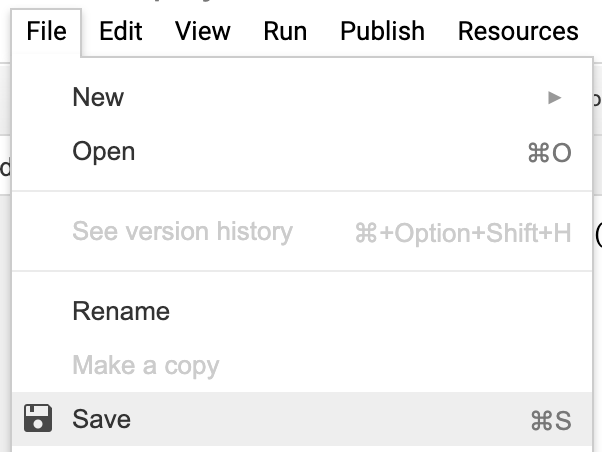
Click on “File”, then “Save”
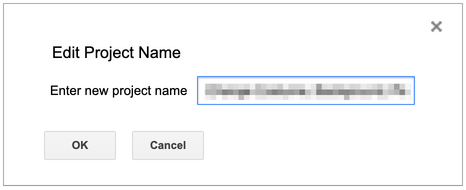
When asked for the project name, just enter the name of the script from the scripts page, then click “OK”
Click on “Publish”, then “Deploy as web app...”
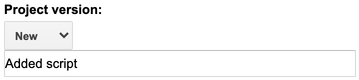
Under “Project version:”, type “Added script”
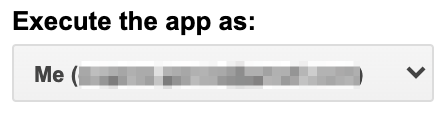
Under “Execute the app as:”, make sure it says “Me”
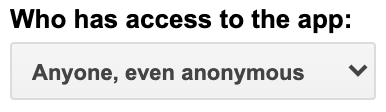
Under “Who has access to the app:”, make sure it says “Anyone, even anonymous”
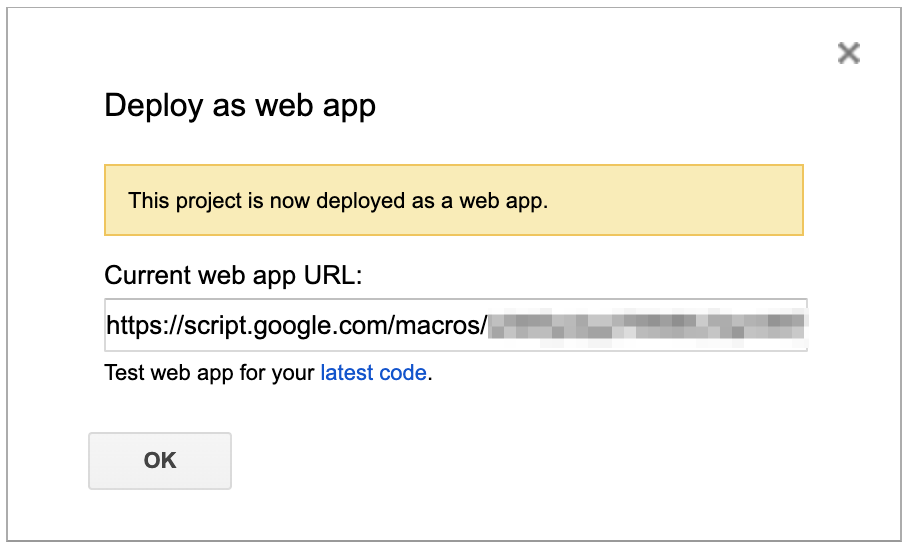
Click “Deploy”
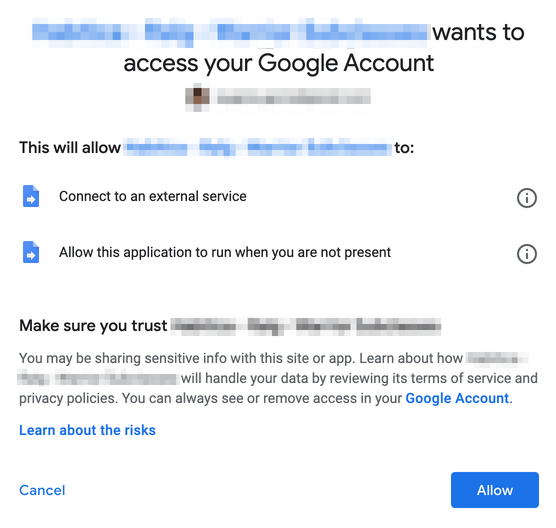
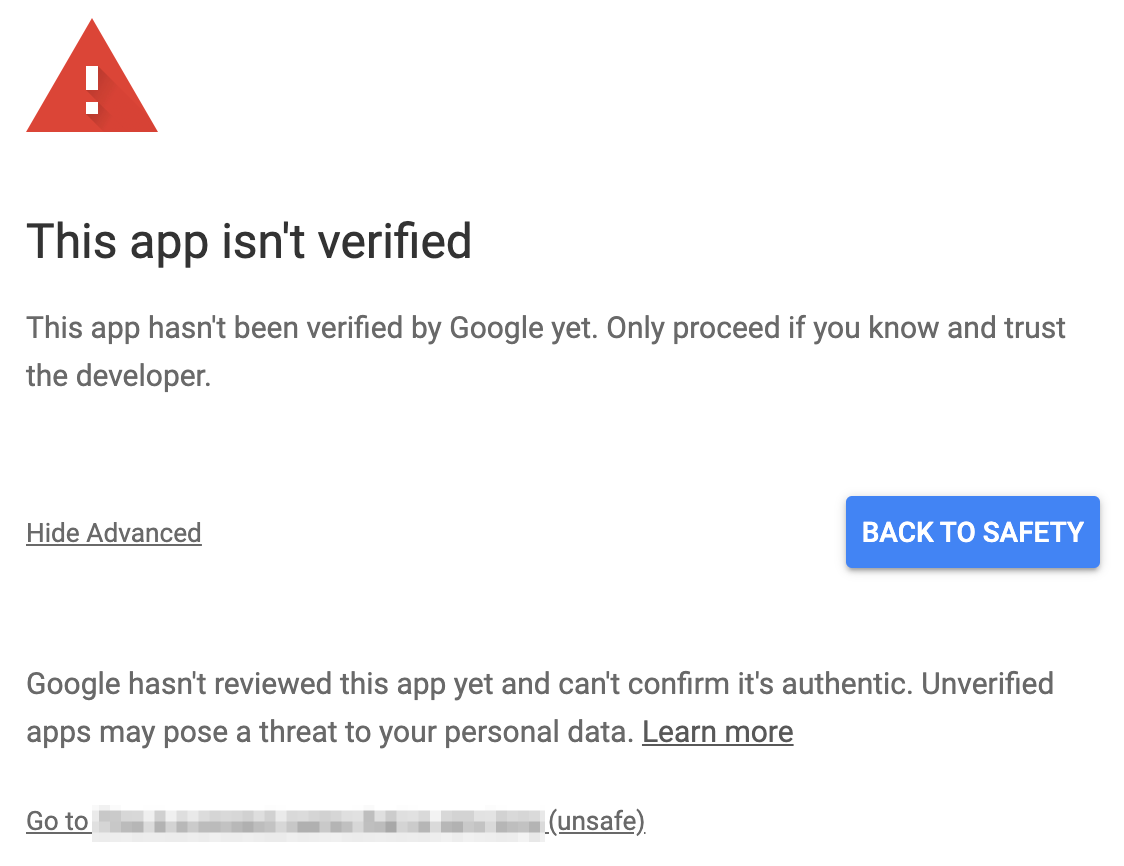
If the following message is displayed, click on “Review Permissions”
A new window will open
Choose the Google account you used in step 1
On the lower left, click “Advanced”, then click “Go to <name of script> (unsafe)”
The app being mentioned here that isn’t verified is the new project you made
On the lower right, click “Allow”
Click “OK”
The first part is now done. Part 2 below is shorter and also needs to be performed.
Part 2. Set Up Habitica Webhook
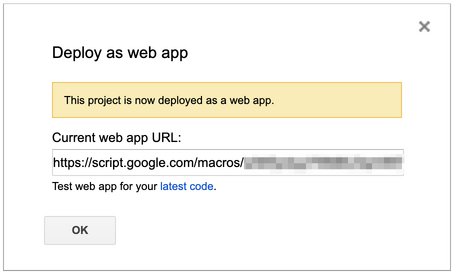
Click on “Publish”, then “Deploy as web app...”
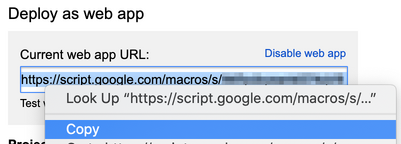
Select the complete URL under “Current web app URL:”, then copy
Click “Cancel”
On line number 6, select PasteGeneratedWebAppUrlHere
Don’t select the quotation marks. This will make sure they are not overwritten when you paste.
Paste the URL copied from the previous steps
Note that the quotation marks should still be there
Click on “Run”, then “Run function”, then “doOneTimeSetup”
A yellow message will momentarily pop up on the top of your screen, no need to click anything
If either "doOneTimeSetup" is not on the choices, or a red error message is shown, it could mean that one of the previous steps was not done properly. Please repeat the steps starting from Part 1. Set Up External Script
[Optional] Go to https://habitica.com/ and click on the Sync button in case the script creates reward task buttons
If the yellow message on step 6 simply disappears with no red error message shown, you’ve successfully completed all the steps! Enjoy your new script!
If you have any questions or concerns regarding unexpected behavior encountered while setting up or using scripts, please go to the scripts troubleshooting page.
Setting Up Traditional Scripts
Part 1. Set Up External Script
Setting up the external script for traditional scripts is similar to the steps for streamlined scripts. The only difference is that the lines where you need to put your user ID, API token, and any other user-defined customizations may look a little bit different. Reading the the script's accompanying documentation will help.
Part 2. Set Up Habitica Webhook
Traditionally, to set up a webhook, you need to learn how to use some third-party tools and set up the webhook manually using these tools.
Applying Updates to Streamlined Scripts
There are times when an author updates their script, either to fix some problems or to add new features. The sections below show the three parts that possibly need to be done to apply these updates on your deployment of the script. For each particular script update, the author of the script will indicate which part among these three parts below are necessary to apply that specific update.
Delete all the text below the line that says /* [Users] Required customizations to fill in */
Paste the text copied from step 3
Only if lines 4-6 have "habiticaUserId", "habiticaApiToken", and "webAppUrl", replace them with "USER_ID", "API_TOKEN", and "WEB_APP_URL" respectively.
If the section called "Required Customizations" exist on the script's description on the scripts page, check through the items listed on this section and modify the indicated values
[Optional] If the section called "Optional Customizations" exist on the script's description, check through the items listed on this section and modify the indicated values
Click on “File”, then “Save”
Click on “Publish”, then “Deploy as web app...”
Under “Project version:”, type “Updated script”
Click “Update”
If the "Authorization required" message is displayed, click on “Review Permissions”
If the "Authorization required" message is not displayed, just go directly to step 16
Choose the Google account you used when you initially set up the script
On the lower left, click “Advanced”, then click “Go to <name of script> (unsafe)”
On the lower right, click “Allow”
Click “OK”
Part 3. Recreate Items Created by doOneTimeSetup
Click on “Run”, then “Run function”, then “doOneTimeSetup”
A yellow message will momentarily pop up on the top of your screen, no need to click anything
[Optional] Go to https://habitica.com/ and click on the Sync button in case the script creates reward task buttons
If you have completed the steps in all the parts indicated by the script's author, you have successfully updated the script.
If you have any questions or concerns regarding unexpected behavior encountered while setting up or using scripts, please go to the scripts troubleshooting page.


